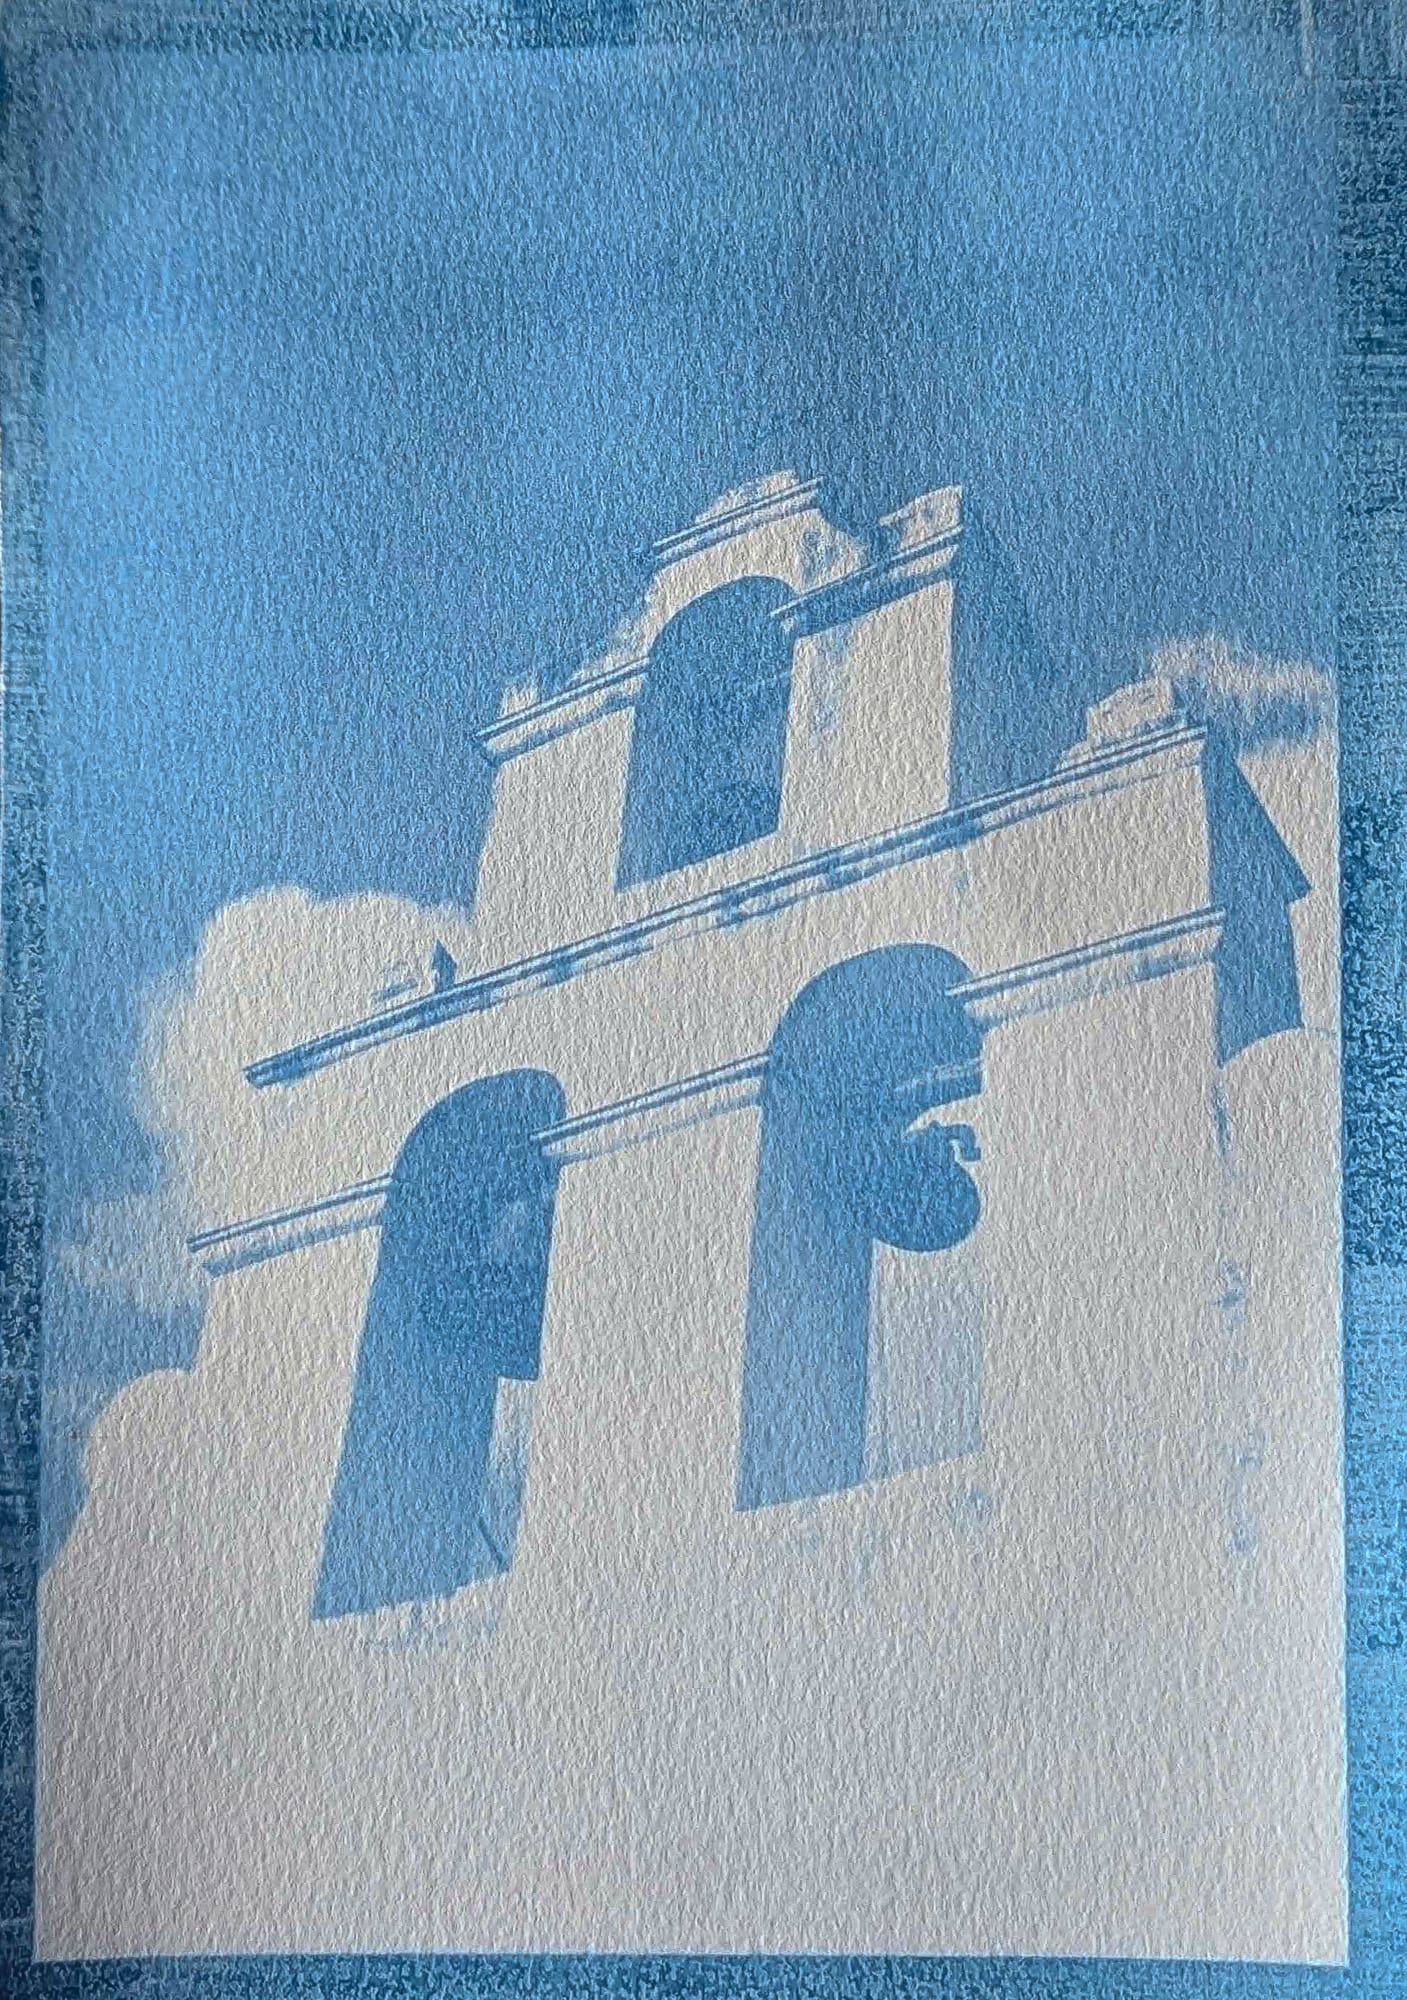
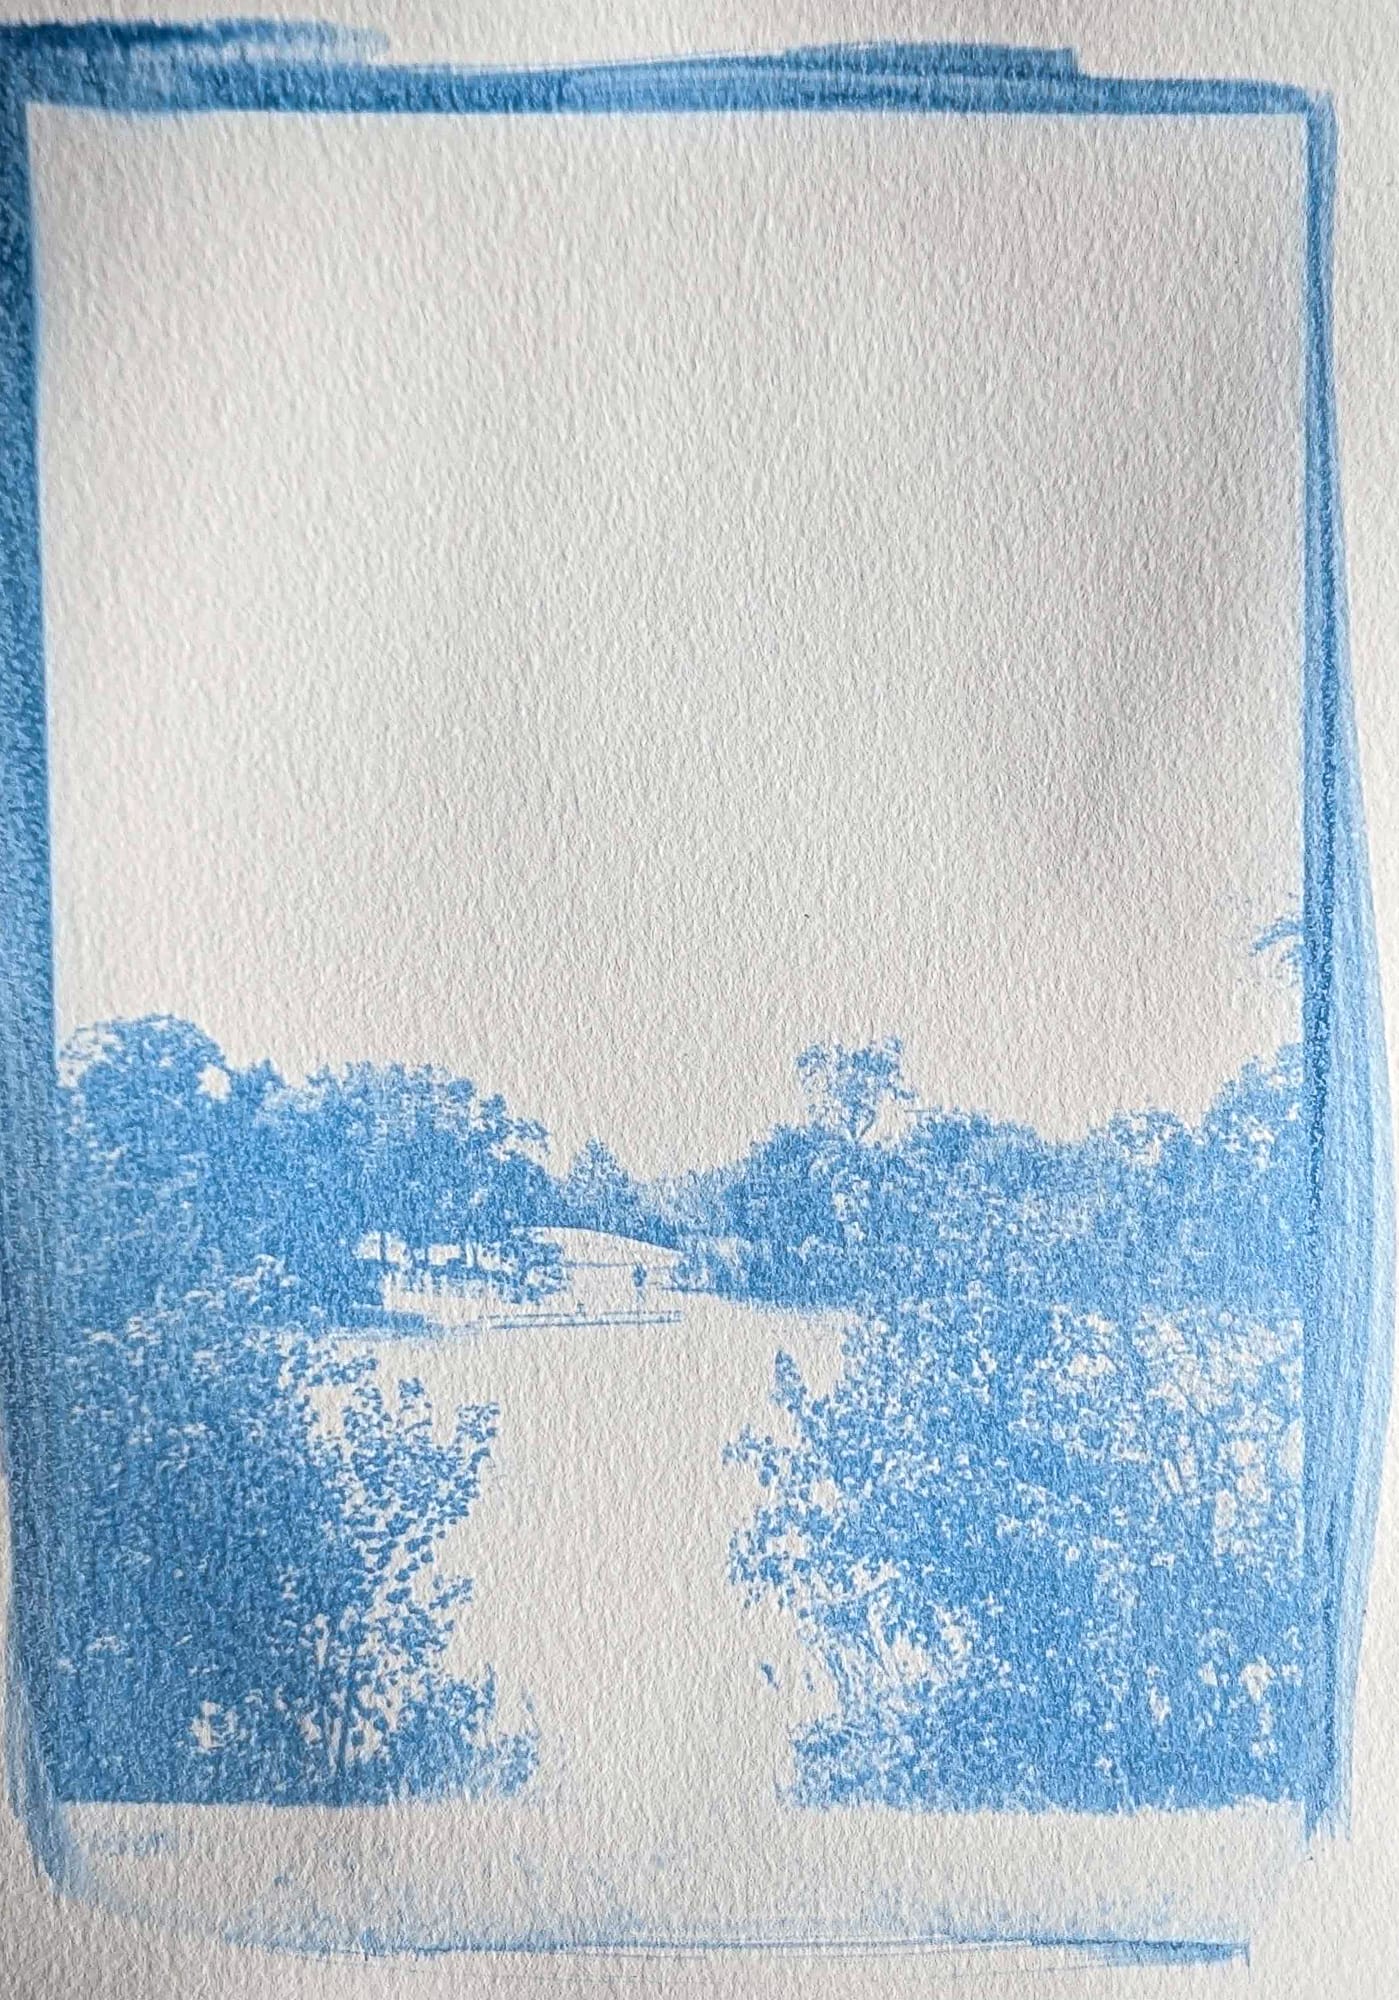
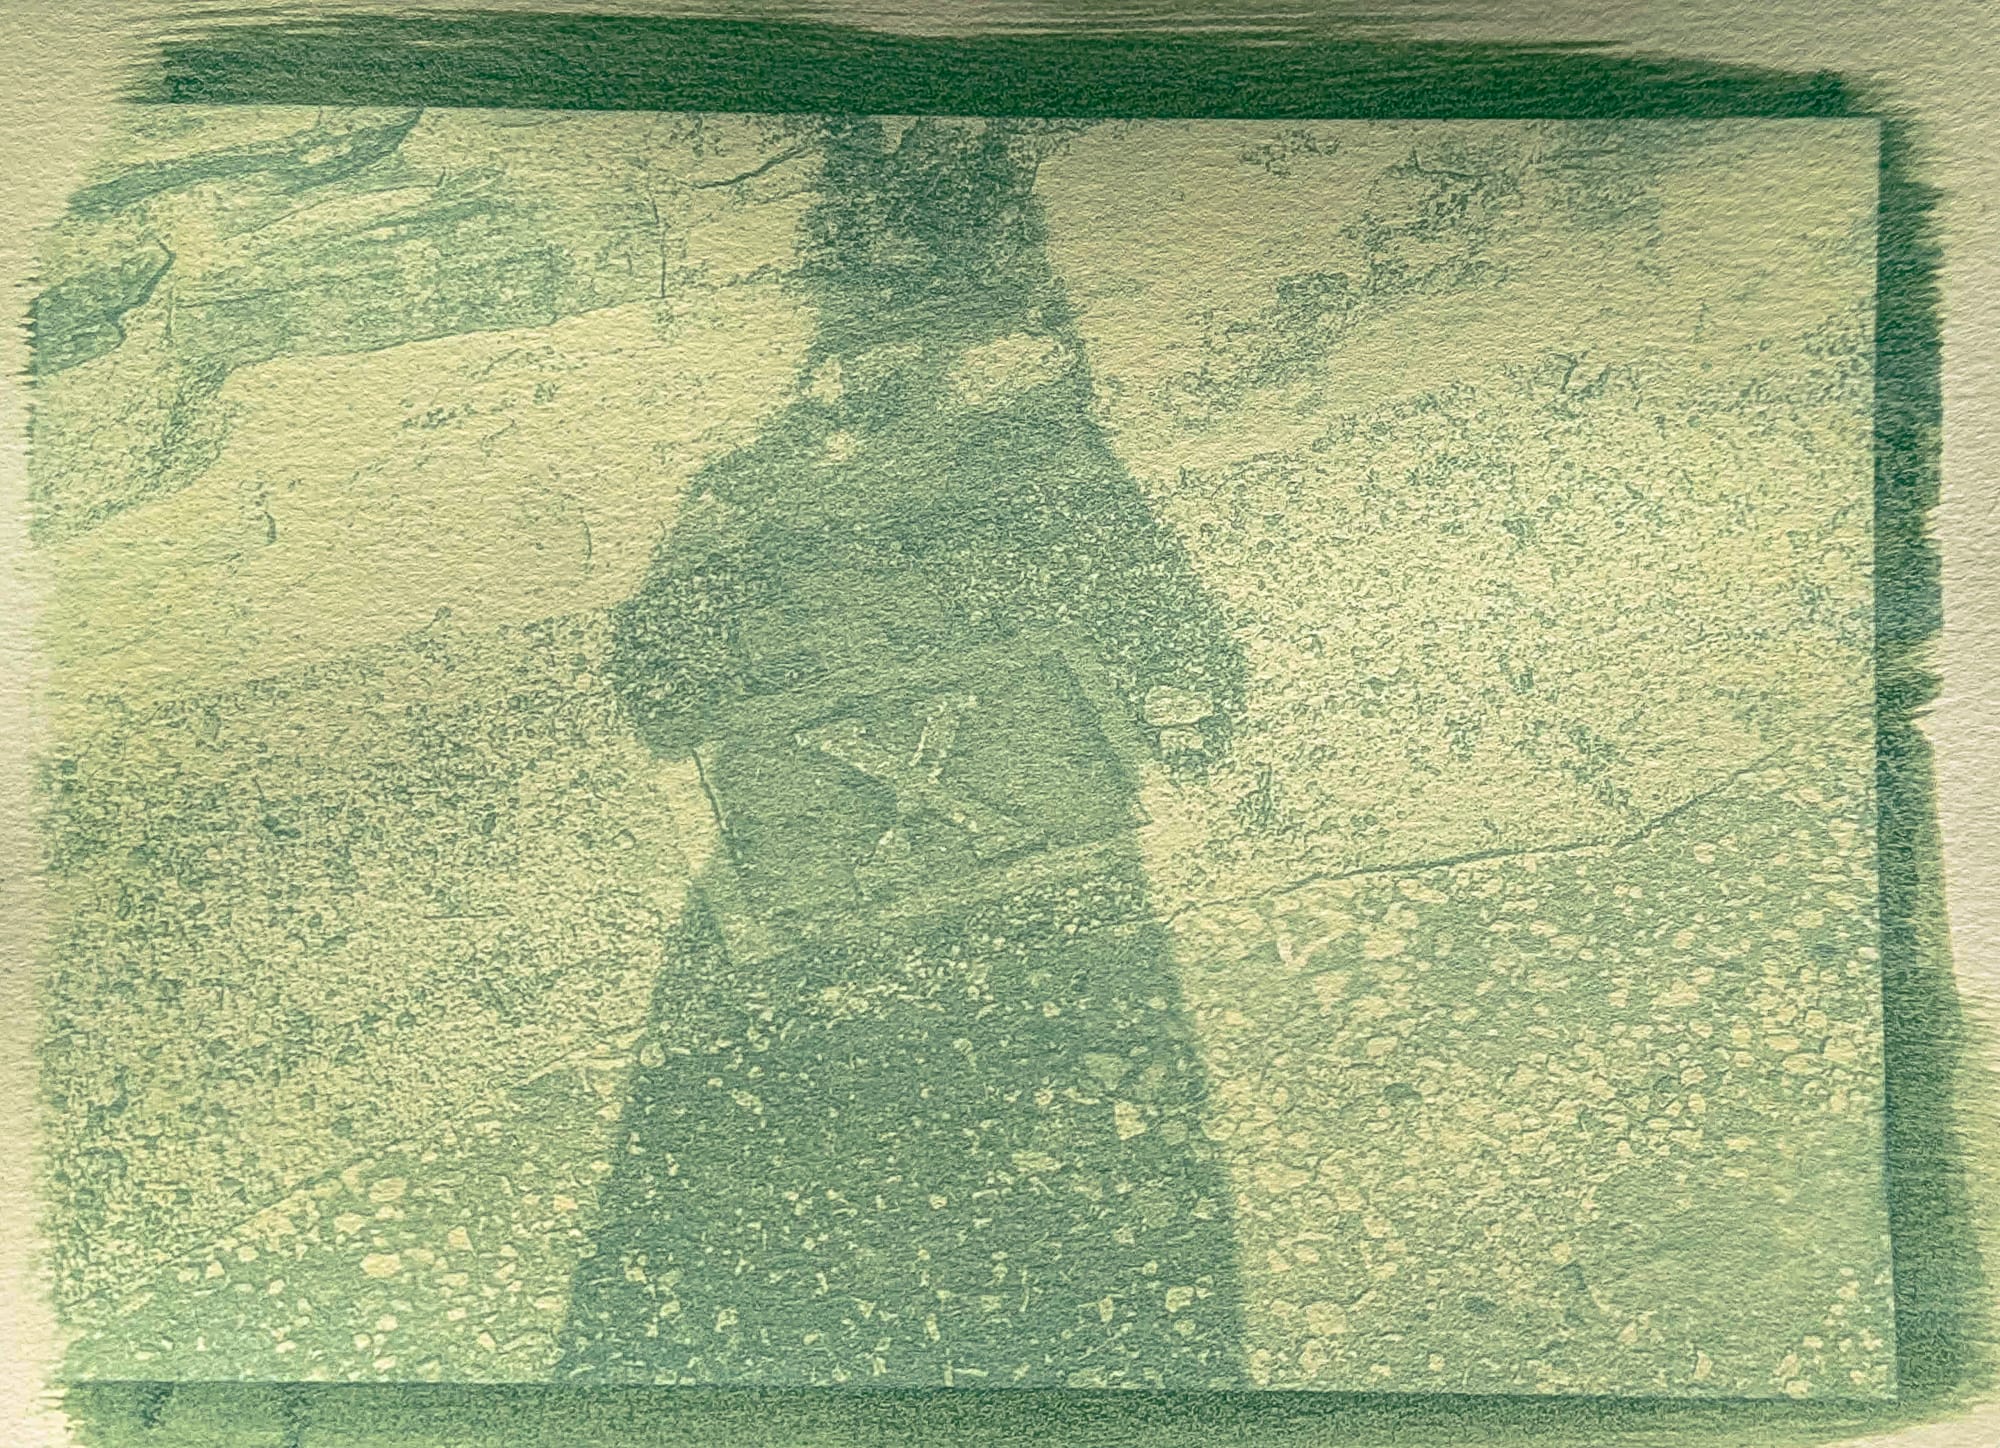
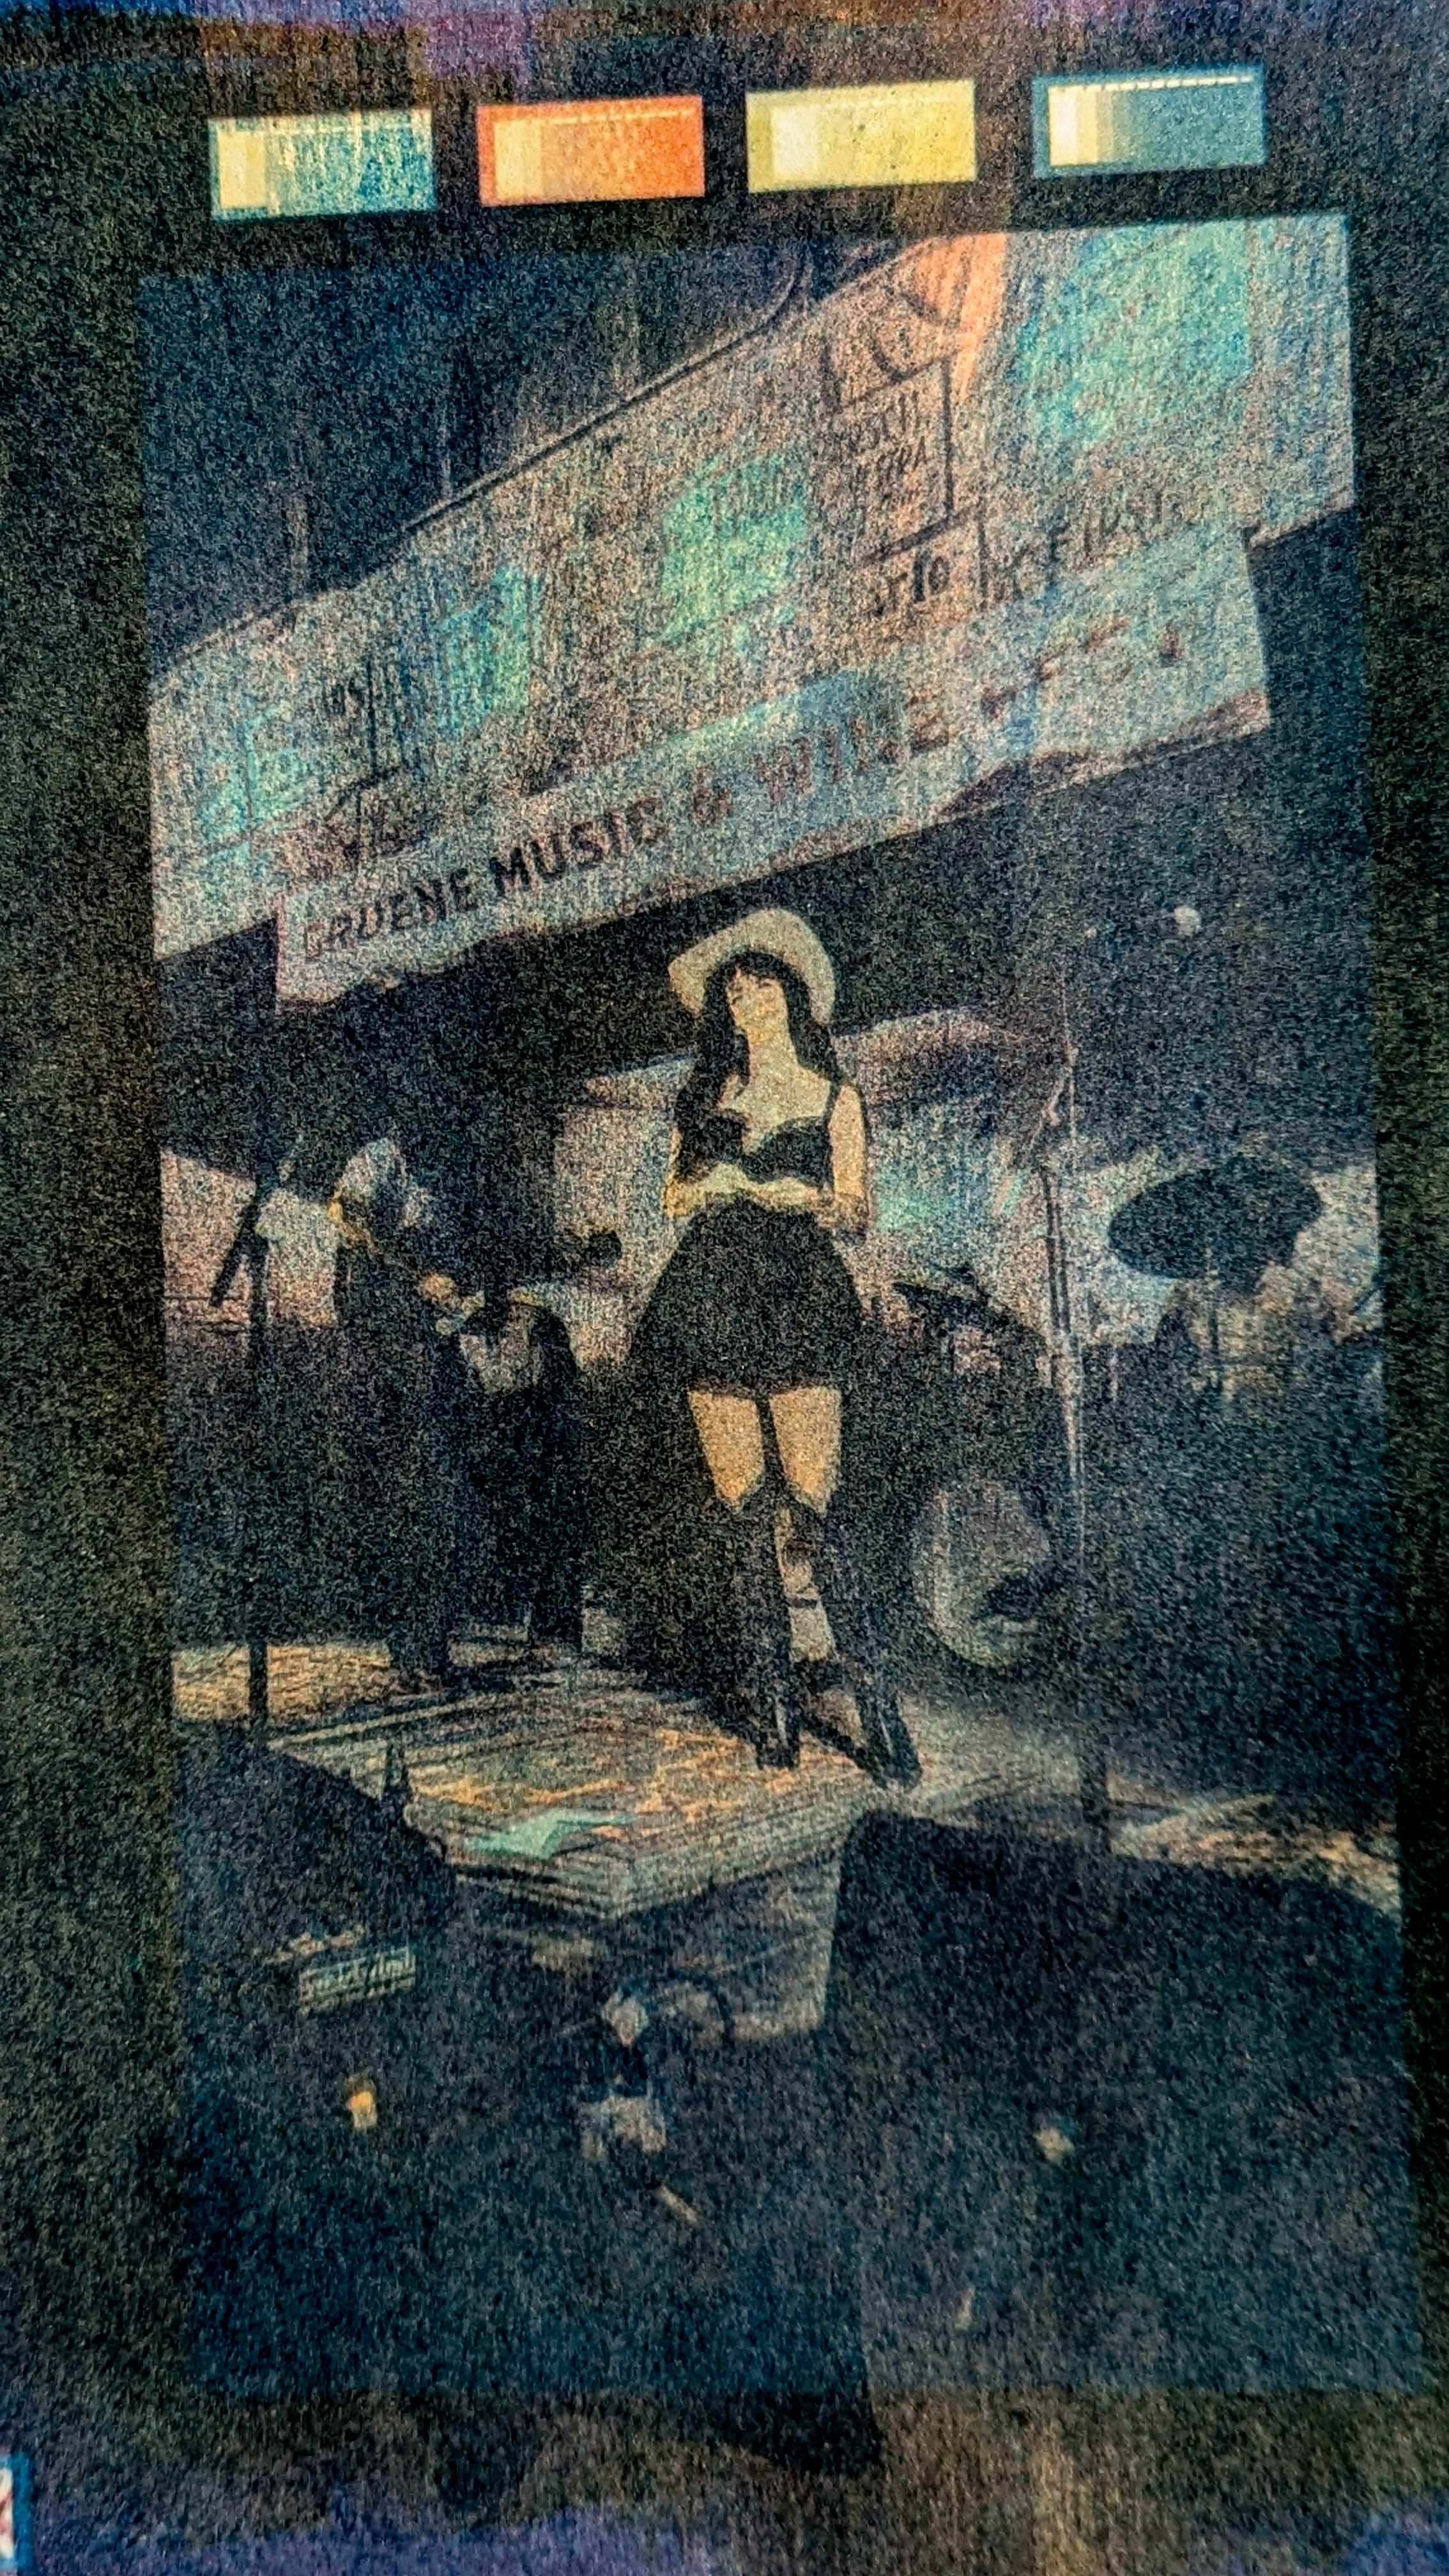
A Beginner's Guide to SolarFast Printing
A beginner's guide to printing your photographs as SolarFast prints. Create analog prints from digital negatives without a darkroom!
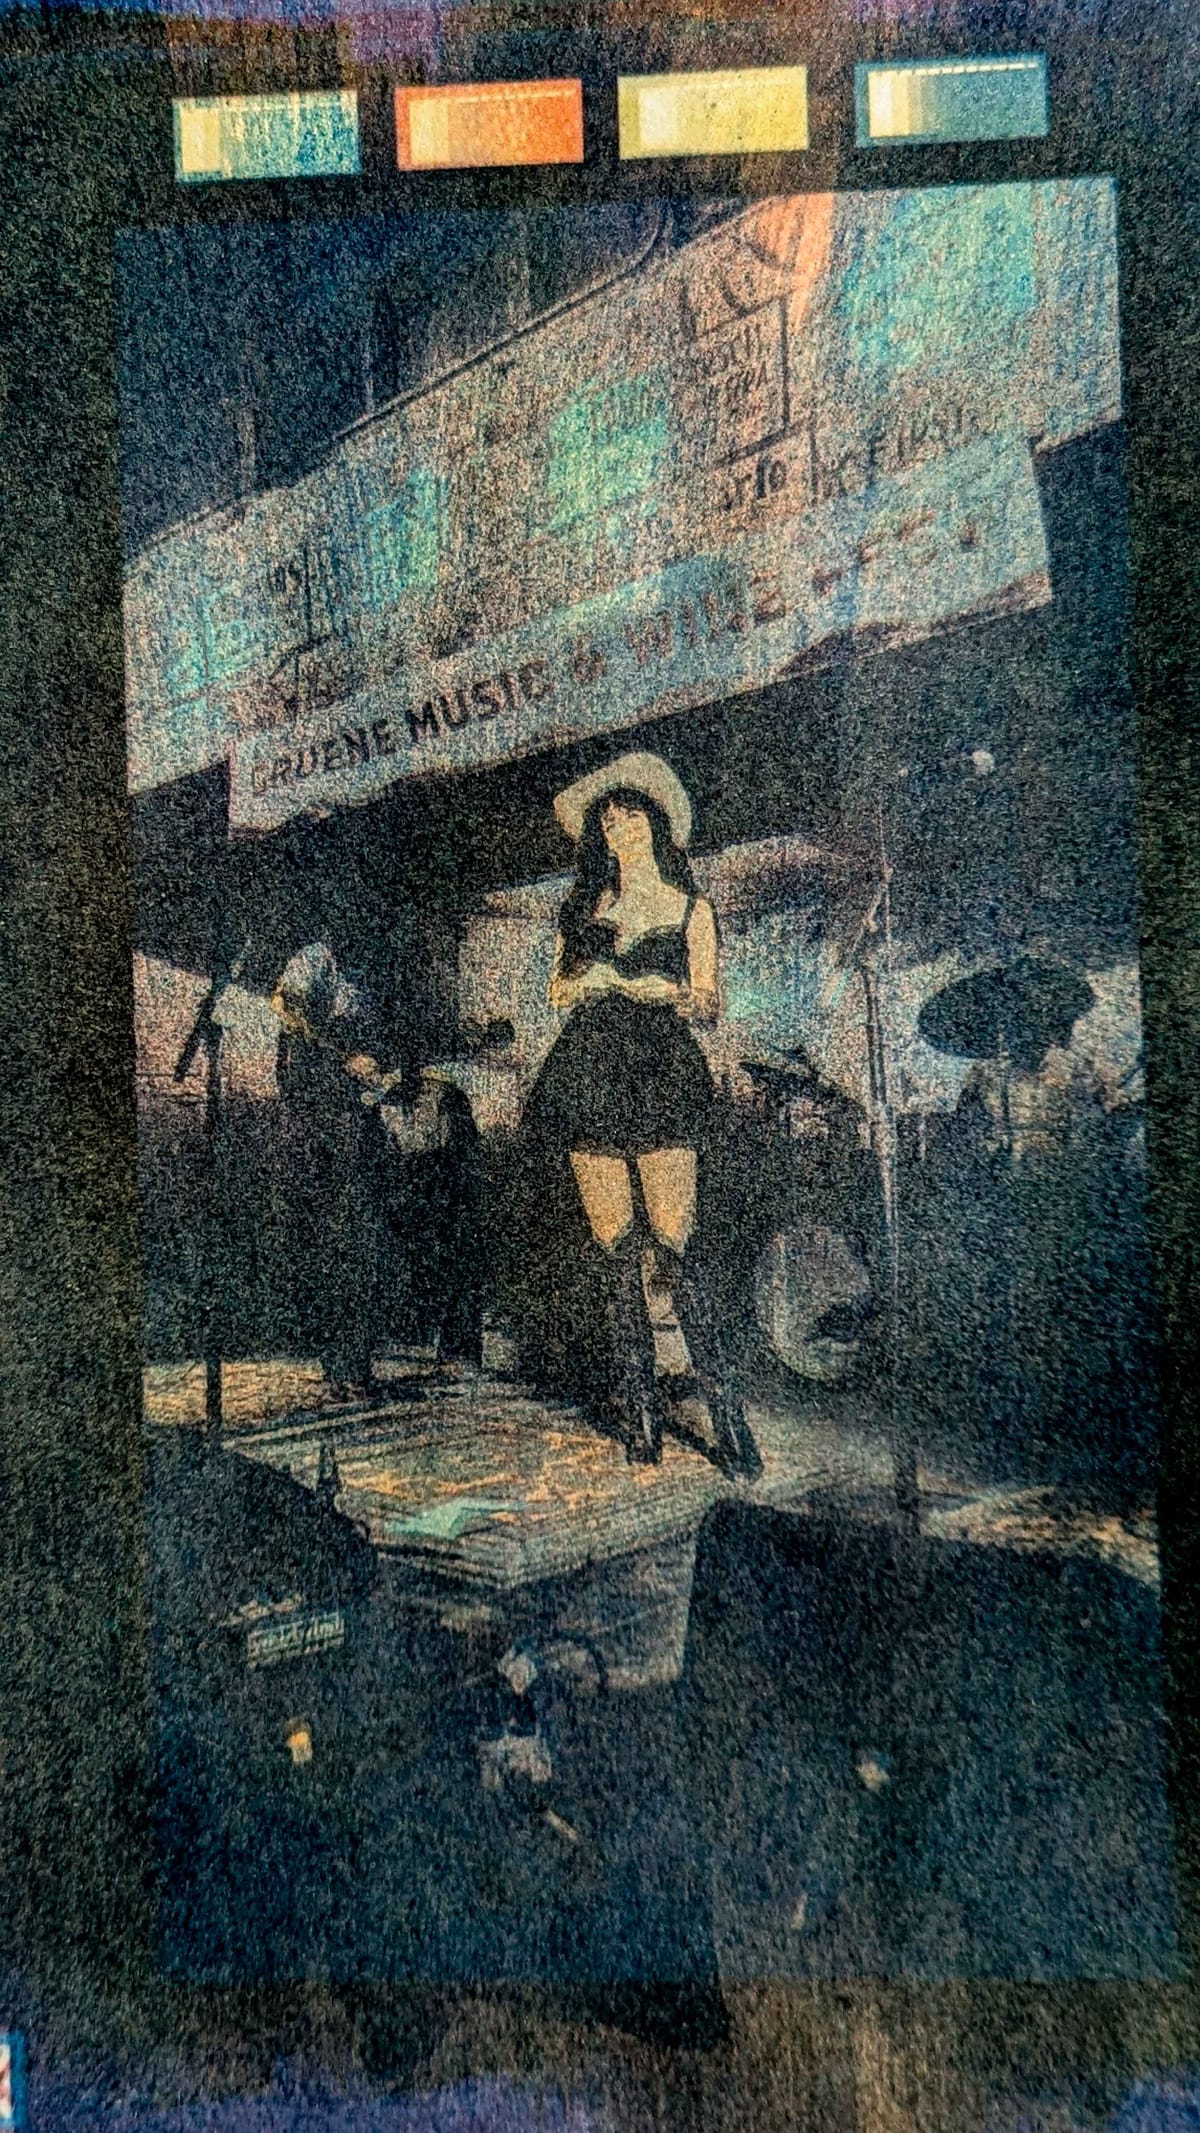
The inaugural issue of Tripping Cherry is dedicated to my number one bug-a-boo: not printing your photography!
The largest loss the photographic community has suffered to date is the death of printing. As someone who started in the dark(room) ages, photography extended beyond the time spent behind the camera and into the night developing the negatives, printing them, and inspecting a myriad of scraps of paper for the perfect exposure, tonality, color, texture that created the expression I so desperately needed to make. A photograph was not just about what you saw, where you were, and that specific moment, but about a series of moments and choices you made before and after. When an image requires work beyond the capture, this intense level of nurturing, it's impossible to not become further attached to it. The act of printing requires you to spend time with your work, and gives you a chance to continually reimagine it.
The time has come to free your work from it's Instagram-perfect pixel prison and breathe life into it, physically. To put your signature on it, literally.
What is SolarFast?
SolarFast is a commercial line of UV-sensitive dyes that can be used to create analog photographic prints on paper, fabric, wood, porcelain, and other natural surfaces. Unlike traditional darkroom processes, you can produce prints with this method using minimal space and equipment—without the need for total darkness or specialized safe lights. It’s a relatively safe, accessible, and cost-effective option for those who don’t have the time, space, or money to set up a darkroom for analog printing.
If you're familiar with Cyanotype printing, SolarFast works similarly in that it is a liquid sensitive to sunlight (UV), and can be developed with water. However, unlike Cyanotype, SolarFast comes in a variety of colors and is relatively colorfast on fabric.
Tools & Materials
- SolarFast dye(s) of your choice
- Paper or Fabric for printing. We recommend paper to start, and to use natural fibers for best results. For beginners, try Canson XL watercolor paper. It is thick enough to stand up to washes and takes SolarFast well.
- Printer & Ink. You can use laser or inkjet, but inkjet printers will typically produce better results.
- Transparency film for negatives; choose a waterproof brand with a milky base color. These are more effective than the crystal clear transparency film for SolarFast because they are waterproof and will repel the still-wet emulsion.
- Foam brushes; these work better than other brush types and will provide an even coat of the dye on your substrate.
- Contact Frame or a board and glass sheet.
- Running water to rinse the print.
- UV Light: Either strong sunlight or a 365nm UV light, at least 50W.
- Protective Gear: SolarFast is non-toxic, however, it is staining. Consider wearing nitrile gloves and covering any important surfaces with old towels.
Creating a Negative
Photographic prints made with SolarFast require a negative the same size as the final print, as we’re creating them through contact printing. If you don’t shoot large-format film, you’ll need to create a digital negative using Photoshop (or a similar editor), a printer, transparency film, and ink or pigment.
Here’s how to get started:
- Open your image file in Photoshop or another editor.
- Resize the file to your final print size; keep your DPI between 240 and 300. For testing, I usually start with a 6 x 9-inch print. Your finished print will be the same size as your negative.
- If your file is in 8-bit mode, change it to 16-bit mode to improve ink density when printing the negative. If it’s in RGB mode, switch it to CMYK.
- Desaturate the image to convert it to black and white.
- Download this curve file I developed for Black SolarFast Dye. It’s a good baseline to get you started. Apply it to the image in the curves menu to adjust the tonality. Your image will now appear flatter and lacking contrast.
- Invert the image to create the negative.
- Print your negative on the transparency film. I recommend printing two copies and taping them together to achieve maximum density and protect your highlights during exposure.
Creating Your First SolarFast Print
Here’s the process for your first SolarFast print:
Step 1: Set Up Your Workspace
Choose a clean, dimly lit area. You don’t want any dust or dirt messing with your print, and you’ll need natural sunlight or UV light for exposure. Lay down some newspaper, plastic, or an old towel to protect surfaces from accidental dye splatters.
Tip: SolarFast can be diluted 1:1 without changing its tonality to reduce costs, or you can apply it as is. If you dilute the dye, store it in a lightproof container to prevent oxidation.
Step 2: Apply SolarFast to Your Substrate
Shake your SolarFast dye before applying. For an 8x10 sheet of paper, you’ll need just slightly less than a quarter-sized amount of dye. Pour it directly onto the center of the paper and spread it with a foam brush. You can leave brush marks near the edges, or cover the entire sheet—it's up to you. Make sure the paper is wet but not dripping. Too much dye will cause loss of detail, while too little will lead to weak shadow tonality and lower contrast.
Step 3: Expose to Sunlight or UV Light
Once you’ve applied the dye, place your negative(s) on the wet paper, ensuring the inked side is up and away from the wet dye.
- If using sunlight, lay the material outside in direct sunlight for 10-20 minutes (exposure time depends on sunlight strength and desired print darkness).
- If using a UV lightbox or lamp, exposure time will vary depending on your light source, but with a 50-100W 365nm lamp, expect similar exposure times to sunlight.
Step 4: Wash and Reveal Your Print
After exposure, rinse your print in the hottest water available to stop the reaction. If you’re using SolarWash, make sure to fully dilute it before soaking the print. The areas exposed to UV light will remain darker, and the unexposed areas will wash away, leaving your print. Be gentle while rinsing—the process can take at least 15 minutes. If necessary, soak longer, but avoid overworking the paper’s pulp.
Step 5: Finish and Protect Your Print
Let your print dry completely. Once it’s dry, you can choose to protect it with Dorland's wax or matte and frame it.
Troubleshooting Common SolarFast Problems
Here are a few common issues and how to troubleshoot them:
- Contrast Issues: This is usually related to your negative. Ensure areas you want white are fully opaque, and areas where you want deep shadows are clear. Adjust your curves or stack negatives to improve density.
- Overexposure: If your print is too dark, you might have overexposed it. Try a shorter exposure time and check more frequently.
- Underexposure: If your print is too light or washed out, it likely didn’t get enough UV light. Increase exposure time or ensure your UV light source is strong enough.
- Uneven Prints: Uneven dye application is often the culprit. Try using a lighter hand with the brush or experiment with a screen. Foam brushes generally provide the most even coverage.
- Smudges or Streaks: This can happen if the ink wasn’t fully dry before rinsing or if the print wasn’t set properly. Let your prints dry completely before handling them.
Final Thoughts
SolarFast printing offers an easy entry point into analog and alternative processes for photographers looking to expand beyond digital images or commercial printing. It provides the freedom to experiment and encourages you to spend more time with your images, hands-on. While the process may not always result in immediate success, the rewards are well worth the effort.
If you create any prints based on this guide, I’d love to see them! Tag me on Instagram or email your work to trippingcherry@gmail.com.
